
Last updated November 14, 2026
 Metal roofing
 Architectural shingles
 Tile roofing
 GAF
 Owens Corning
 Flat & low-slope
Free roof inspection with deck photos before we talk money - GAF and Owens Corning certified installation
Roofing Emergency Preparedness Guide for Santa Clara Homes
The most expensive roofing emergency mistakes happen in the first two hours, not the first two weeks. A homeowner who climbs onto a wet roof, staples the wrong material over a leak, or waits three days to photograph the damage creates problems the storm never did. Most Santa Clara households already keep an earthquake kit, a flashlight, and a planned meeting spot. Very few keep a roofing plan. That gap is what this guide closes. You’ll learn a safe first-24-hour decision tree, what correct temporary mitigation actually looks like, the emergency scenarios specific to Santa Clara, how a California roofing claim gets documented, and the checklist to build before the next storm arrives.
Quick Answer
During a roofing emergency in Santa Clara, stay off the roof, photograph the damage from the ground before you touch anything, and place buckets to catch water rather than to hide the leak. Then call your insurer to open a claim and call a licensed roofer for temporary mitigation and a written repair estimate. Most roofing problems here come from winter atmospheric river wind and rain, fallen tree limbs, and seismic movement, not snow.
Styles & brands we work with
- Architectural shingles
- Metal roofing
- Tile roofing
- GAF
- Owens Corning
- Flat & low-slope
Table of Contents
- The First 24 Hours: A Step-by-Step Decision Tree
- How to Assess Roof Damage Safely From the Ground
- What Correct Temporary Mitigation Looks Like
- Santa Clara Emergency Scenarios to Plan For
- How to File a Roofing Insurance Claim in California
- Photographing Your Roof: A Dated Photo Record
- Your Pre-Emergency Preparation Checklist
- Common Mistakes to Avoid
- When to Call a Professional
- Frequently Asked Questions
The First 24 Hours: A Step-by-Step Decision Tree
When water is coming through the ceiling, the instinct is to act fast. The better path is to act in the right order, because the sequence of your first moves determines how much of the repair your insurer covers and how much the damage spreads. Here’s the decision tree we walk Santa Clara homeowners through when they call us mid-emergency.
- Get everyone and everything safe first. Move furniture, electronics, and valuables away from the drip. If water is near an outlet, switch, or light fixture, turn off the power to that room at the breaker panel before you touch anything wet. Never stand in water to do it.
- Stop the water from spreading indoors. Place buckets and towels under the active leak. Move rugs and anything absorbent out of the drip zone. Don’t poke a bulging ceiling; a sagging patch of drywall can release a surprising volume of water at once, and a controlled bucket is easier to manage than a ceiling that gives way.
- Photograph everything before you mitigate. Take wide shots of the room, close shots of the stain and the drip, and a photo of the ceiling that captures the full extent. Note the date and time. This is the single most valuable thing you do in the first hour.
- Check the exterior from the ground. Walk the perimeter of the house and look up. Note missing or lifted shingles, displaced flashing, granule loss on the ground, sagging lines, or a limb resting on the roof. Photograph what you can see. Do not climb up.
- Call your insurer to open a claim. In most scenarios, contact the insurer before you commit to a contractor. Ask specifically whether your policy includes a provision for emergency mitigation and what documentation they need from you.
- Call a licensed roofer for mitigation and an inspection. A roofer can safely do what you shouldn’t: tarp the damaged area correctly, stop active water intrusion, and give you a written assessment. Call (855) 473-8840. We answer 24/7. Fast dispatch from 7am to 7pm, Sunday through Friday.
- Keep a written log. Note every phone call, every photo, and every decision with the time it happened. Adjusters read timelines, and a clean log is worth more than a messy pile of receipts.
Santa Clara’s rainy season compresses most of the year’s water into a handful of winter weeks. That’s why the first-hour photo becomes so important: by the time an adjuster arrives days later, the visible evidence may already have dried.
How to Assess Roof Damage Safely From the Ground
You can learn a great deal about a roof without ever getting on it. Professional roofing crews assess wind and impact damage from the ground all the time before they go up. Here’s what to look for after a storm in Santa Clara, and why the ground-level view is honest enough to act on.
What to look for from the driveway
- Missing, lifted, or curled shingles. Wind damage often lifts the tabs on the windward slope. Standing at the bottom of the driveway with the sun to your side, look along the roof plane; lifted shingles catch the light.
- Granules in the gutter or at the downspout. A handful of granules in the gutter after a storm isn’t alarming. A heavy accumulation of sandy granules at the base of the downspout tells you the shingles have lost their protective surface.
- Displaced flashing. Look at where the roof meets a chimney, vent pipe, or wall. Lifted or missing metal is a common leak entry point even when the shingles look intact.
- Sagging lines. A ridge line or eave that visibly dips is a structural red flag. Don’t touch it, and don’t cover it yourself.
- Debris and limbs. Santa Clara’s mature trees drop branches on tile and composition roofs in high wind. A limb can shear tile without leaving obvious exterior damage. Look for cracked or displaced tile from the ground and note where.
- Interior signs. Brown ceiling stains, peeling paint on the ceiling, or a musty smell in the attic indicate water intrusion. Look at the ceiling from directly underneath and photograph the entire ceiling, not just the stain.
What you should never do
Never walk on a wet roof, a sloped tile roof, or one with visible sagging. Tile and composition roofs are both slippery when wet, and the damage from a fall at roof height is catastrophic. All the assessment you need to act on can be done from the ground. When it can’t, that’s the point where a roofer comes out.
If you’re noticing the same leak recurring after each rainy season, that’s not an emergency, it’s a repair. Our roof repair service starts with an inspection that tells you exactly where the water is entering, and whether you’re looking at a repair or something larger.
What Correct Temporary Mitigation Looks Like
Correct mitigation stops the water where it enters, not where it shows up. It photographs and records everything before touching the roof. And it never risks a person’s safety for a temporary cover. Done well, it protects the interior for days while you and your insurer settle on the permanent repair. Done badly, it hides the leak and can make the claim harder.
What correct mitigation involves
- Someone trained getting on the roof safely. A proper tarp goes on dry or safely-sloped surfaces with fall protection. If the roof can’t be safely accessed, mitigation moves to the interior.
- Tarps that overhang the eave. The tarp should extend past the lower edge and be anchored so wind can’t get under it. A tarp laid flush to the wall traps water against the fascia.
- Interior water management that doesn’t mask the source. Buckets and towels placed directly under the drip move water out of the room. What they don’t do, if placed carelessly, is let the leak spread somewhere else unnoticed.
- Flashings inspected and secured, not taped. Tape over a lifted flashing is temporary at best. A professional mitigation will secure it mechanically, keep water from wicking under it, and note it for the permanent repair.
- A written record of everything placed. The materials used, the areas covered, and the date all get logged for the insurer.
The common mitigation mistakes
- Tarping in the wrong direction. A tarp that runs downhill to uphill instead of ledge-to-ridge creates a pocket that holds water against the roof. This is one of the most common DIY errors we see after storms in Santa Clara.
- Placing buckets but not marking them. A bucket catches water, and if you don’t photograph before you place it, you lose the evidence of where the water entered and how far it spread.
- Stapling plastic sheeting to shingles. Staples create new holes in the roof, and a plastic sheet with no ventilation traps moisture against the deck. Wood rot can begin in days.
- Moving the ceiling drywall. Cut away a sagging patch of ceiling and you release the water in one uncontrolled flood, plus you may destroy the evidence of the intrusion path.
Santa Clara Emergency Scenarios to Plan For
Santa Clara’s roofing emergencies cluster around three weather and structural events. Knowing which one you’re facing changes the whole response. Winters here are mild, so freeze-thaw and snow loads aren’t part of the picture. The real threats come from wind-driven rain, tree impact, and seismic movement.
1. Atmospheric river wind and rain
When a winter atmospheric river funnels moisture into the Santa Clara Valley, wind-driven rain finds every weak point in a roof: lifted shingles, degraded flashing, cracked sealant, and any puncture the roof picked up over the summer. Water enters at the windward face and can travel horizontally along the deck before it drips through the ceiling somewhere else. That’s why the leak you see inside the house is rarely where the water entered. If you have a leak during a storm, note the wind direction and check the windward slope first. Get a roofer out for a written assessment rather than waiting for the storm to end.
2. Fallen tree limbs on tile roofs
Santa Clara has mature trees close to many homes, and tile roofs are common across the valley. A limb on a tile roof frequently looks minor from the ground but can crack tile and shear the underlayment beneath it, opening a path for water long after the limb is removed. Don’t try to remove the limb yourself, and don’t walk on the tile to inspect it. Have a professional lift the limb, inspect the underlayment and the framing beneath, and tell you whether you’re looking at a repair or a section replacement.
3. HVAC equipment displacement during seismic events
After an earthquake, rooftop air conditioning and heating units and their supporting curbs can shift, leaving penetrating fittings loose or open. That’s not a storm scenario, but it’s a roofing emergency the moment the next rain arrives. If you have rooftop HVAC equipment and the house has been strongly shaken, have a roofer inspect the penetrations and the unit’s connection to the roof. Our Sunstone Roof Repair team treats this as part of any post-earthquake inspection, because a small gap at an HVAC curb can leak for weeks.
What all three scenarios share is a ten-second decision: stay on the ground, document first, then call. The roofing choices you make in the first two hours set whether the damage stops where it started or spreads through the interior.
How to File a Roofing Insurance Claim in California
Most roofing claims in California hinge on documentation, not argument. The adjuster’s job is to pay for what the evidence shows and the policy covers; your job is to make the evidence impossible to misread. That means a clean photo record, a written timeline, and a contractor’s written assessment that describes visible damage and its probable cause in plain terms.
What adjusters look for
- A clear “before” record. Photos of the roof taken before the storm, showing its condition, remove any doubt about pre-existing damage. This is the single item that most strengthens a claim.
- Evidence of a covered event. Small hail is possible in the Santa Clara Valley but uncommon. More typical is wind damage: lifted or lost shingles, torn flashing, and impact from limbs. Preserve a fallen limb and photograph it before removing it.
- A consistent timeline. When the damage happened, when you noticed it, when you mitigated it, when you called. A timeline that holds up under reading is worth more than any argument.
- A professional written assessment. A contractor’s written report describing what’s damaged and what it costs to repair carries weight the homeowner’s description can’t. It’s not a sales document when it’s written carefully.
What a public adjuster does if the initial offer is contested
A public adjuster is a licensed professional who represents you, not the insurer, in a disputed claim. They review the insurer’s assessment, document damage the adjuster may have missed, and negotiate on your behalf. They typically charge a percentage of the settlement, and they’re a tool for contested claims, not a first step. If the initial offer doesn’t cover the repair a licensed roofer has quoted, you can also request a re-inspection before deciding whether to bring in a public adjuster.
Two tips that matter here
First, ask your insurer up front whether the policy includes reimbursement for emergency mitigation. If it does, keep every receipt for tarps, materials, and any temporary repair. Second, don’t sign anything from a roofer until you’ve compared a written estimate from at least one other licensed contractor. For the permanent repair itself, a roof replacement decision made with a written estimate in hand is far cleaner to negotiate with an insurer than a verbal agreement.
Photographing Your Roof: A Dated Photo Record
Most homeowners walk around the house with a phone camera for ten minutes before the rainy season and have a record worth more than any insurance rider. A dated photo record of your roof’s condition becomes the reference point that proves the difference between old wear and new damage. Here’s how to build one in Santa Clara that actually holds up.
- Photograph the whole roof system from the ground. Shoot each elevation from a spot where you can see the full sloped face, the ridge, and the eave. Step back across the street if the view is better. Capture the chimney, the vent pipes, and any rooftop equipment.
- Get close-ups of anything you’ve patched or repaired. A repaired flashing, a replaced tile, a silicone patch. Those are the areas an adjuster will focus on, and a clear before-and-after closes the question.
- Shoot the interior ceiling and walls. Every room with a ceiling, every interior wall on the top floor. A fresh, unmarked ceiling photographed in the fall makes a winter stain unambiguous.
- Include a date reference in each batch. The phone’s timestamp on the file does the job; make sure the date is visible in the file, and keep a note in a labeled folder.
- Repeat the record once a year. Once before the rainy season and again in the spring. Two dated sets, a year apart, catch problems in the early stage when they’re still a repair rather than a replacement.
If you’d rather hand the record to a professional, a standalone inspection gives you a written assessment to hold against your own photos. It’s a service, not a sales call. Our Santa Clara inspections exist so you get a straight diagnosis before any decision is made.
Your Pre-Emergency Preparation Checklist
The most useful preparation for a roofing emergency happens on a dry, uneventful afternoon. Here’s the checklist we hand to homeowners in Santa Clara who ask what to do before the first storm, not after.
- Save your roofer’s number before you need it. Put it in your phone contacts, not just a notes app. (855) 473-8840. We answer 24/7. Fast dispatch from 7am to 7pm, Sunday through Friday.
- Know your policy’s emergency mitigation clause. Call your insurer and ask directly whether emergency mitigation is reimbursable, and what documentation they need from you if you file. Save the answer.
- Build a dated photo record each year. Whole roof from the ground, close-ups of every repair, interior ceilings. Two sets a year, before rainy season and in spring.
- Keep a basic emergency kit. Heavy plastic sheeting, a roll of roof-safe tape, a battery-powered lantern, several large buckets, and a notebook for the timeline. Everything goes in one bin in the garage or the storage closet.
- Know your breaker panel. Label each breaker. If water threatens a ceiling near an outlet, you’ll want to find that breaker in seconds, not with a flashlight.
- Locate your rooftop HVAC equipment. Note where the unit sits and how it’s attached. If the house is shaken, those penetration points are the first thing to check.
- Walk the perimeter after every major storm. Look at the flashing, the vent pipes, and the gutter. Two minutes of looking catches most wind damage before the next rain.
An inspection before the season is the single highest-value step on the list. It catches the small failures while they’re still a repair, and it puts a professional eye on the parts of the roof you can’t see from the ground.
Common Mistakes to Avoid
- Climbing onto the roof in the rain. Wet composition and tile are both dangerously slippery, and the risk from a fall is far worse than any water damage inside the house. Stay on the ground and let a trained roofer do the assessment.
- Applying the wrong temporary material. Taping a plastic sheet directly to shingles or laying a tarp so it holds water against the roof turns a small leak into wood rot within days. Correct mitigation goes on with overhang and proper anchoring.
- Placing buckets without photographing first. A bucket that catches water but doesn’t capture the evidence before mitigation is lost for insurance. Photograph the drip, the stain, and the ceiling before you set anything down.
- Calling a contractor before you call your insurer. In most scenarios the insurer should be contacted first so the claim can be opened with the damage still visible. A contractor’s written assessment supports the claim; it doesn’t replace it.
- Signing a repair contract during the emergency. A homeowner staring at a wet ceiling is under pressure and less likely to compare. Get a written estimate and a second written estimate for anything substantial, and never sign before you’ve read what it says about the scope.
- Skipping the photo record. Without a dated picture of the roof before the storm, the difference between old wear and new damage is a judgment call. In Santa Clara’s storm season, that judgment call is the whole claim.
- Leaving a fallen limb on the roof. A limb on a tile roof can keep pressing on broken tile and sheared underlayment, feeding water into the structure long after the storm. Have it lifted and the tile inspected.
When to Call a Professional
Call a licensed roofer when you see water actively entering the interior, when a fallen limb or displaced object is resting on the roof, when a ridge line or eave has visibly sagged, when a post-earthquake inspection shows loose HVAC equipment at its curb, or when a leak keeps returning after you’ve sealed the visible point. Call today if you’re not sure. A professional assessment is free, and the difference between a small repair and a major one is decided within the first weeks of a storm. Sunstone Roof Repair offers free estimates in Santa Clara and we’ll tell you exactly what your roof needs: repair, replacement, or nothing at all. Call (855) 473-8840. We answer 24/7. Fast dispatch from 7am to 7pm, Sunday through Friday.
Frequently Asked Questions
Move furniture and valuables, turn off the power to any room with water near a fixture, and photograph the stain and the drip before you set down a bucket. Then call your insurer, followed by a licensed roofer for mitigation. If it’s already leaking, call (855) 473-8840. We answer 24/7. Fast dispatch from 7am to 7pm, Sunday through Friday.
Most homeowners policies cover sudden damage from a named peril like wind or a fallen limb, but coverage depends on your specific policy. Ask your insurer directly whether emergency mitigation is reimbursable and what documentation they require. A dated photo record before the storm and a professional written assessment after it both strengthen the claim.
Interior water management is the part a homeowner can do safely: buckets, towels, and moving valuables. Exterior temporary mitigation on a tarp belongs in the hands of a trained professional, because tarping in the wrong direction traps water and the roof surface is dangerous when wet. Call (855) 473-8840 for mitigation done correctly, with a written record.
Snow is essentially a non-issue in the Santa Clara Valley. The dominant seasonal threats are atmospheric river wind and rain, and fallen tree limbs on tile roofs. Wind-driven rain finds lifted shingles, degraded flashing, and old sealant, and water can travel along the deck before appearing on the ceiling. Have a roofer inspect the windward slope after any significant storm.
A public adjuster is a licensed professional who represents you, not your insurer, and negotiates a contested claim on your behalf. They typically charge a percentage of the settlement, so they’re useful when the initial offer doesn’t cover a licensed roofer’s written estimate. Most claims don’t need one. Start with a re-inspection request and a second written estimate instead.
It depends on how much of the surface is affected. If damage is localized, a targeted repair is the right call. If shingles are missing across a large area or the shingles are near the end of their life, a full replacement may be the more economical path. Our team works with materials from GAF, CertainTeed, Owens Corning, IKO, Atlas, Tamko, and Boral, so we can match repairs to an existing roof or recommend the right replacement. Call (855) 473-8840 for a free estimate.
The Bottom Line
The first two hours of a roofing emergency decide the outcome. Stay off the roof. Photograph everything before you mitigate. Place interior buckets to move water, not hide it. Contact your insurer before you commit to a contractor. Keep a written timeline and a dated photo record of your roof’s condition year by year. Those steps cost nothing and protect your claim, your interior, and your safety when an atmospheric river, a fallen limb, or an earthquake tests your roof. The preparation happens months before the storm, in a ten-minute walk around the house and a saved phone number. When the day it happens comes, the decision tree is already built.
Call (855) 473-8840 for a free estimate. An inspection should give you answers, not a sales pitch. We’ll tell you exactly what your roof needs, and if it’s nothing at all, we’ll say so.
Written by the team at Sunstone Roof Repair.
See the difference
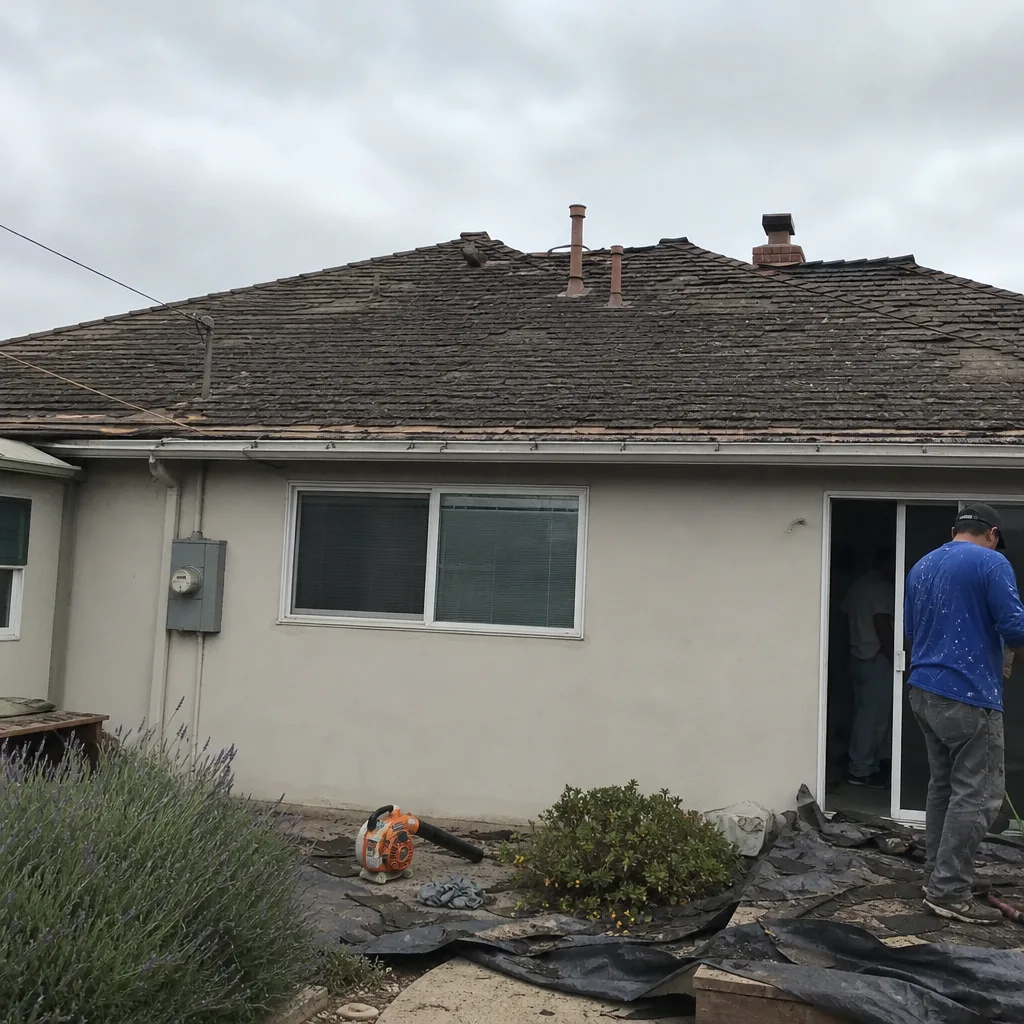 Before
 After
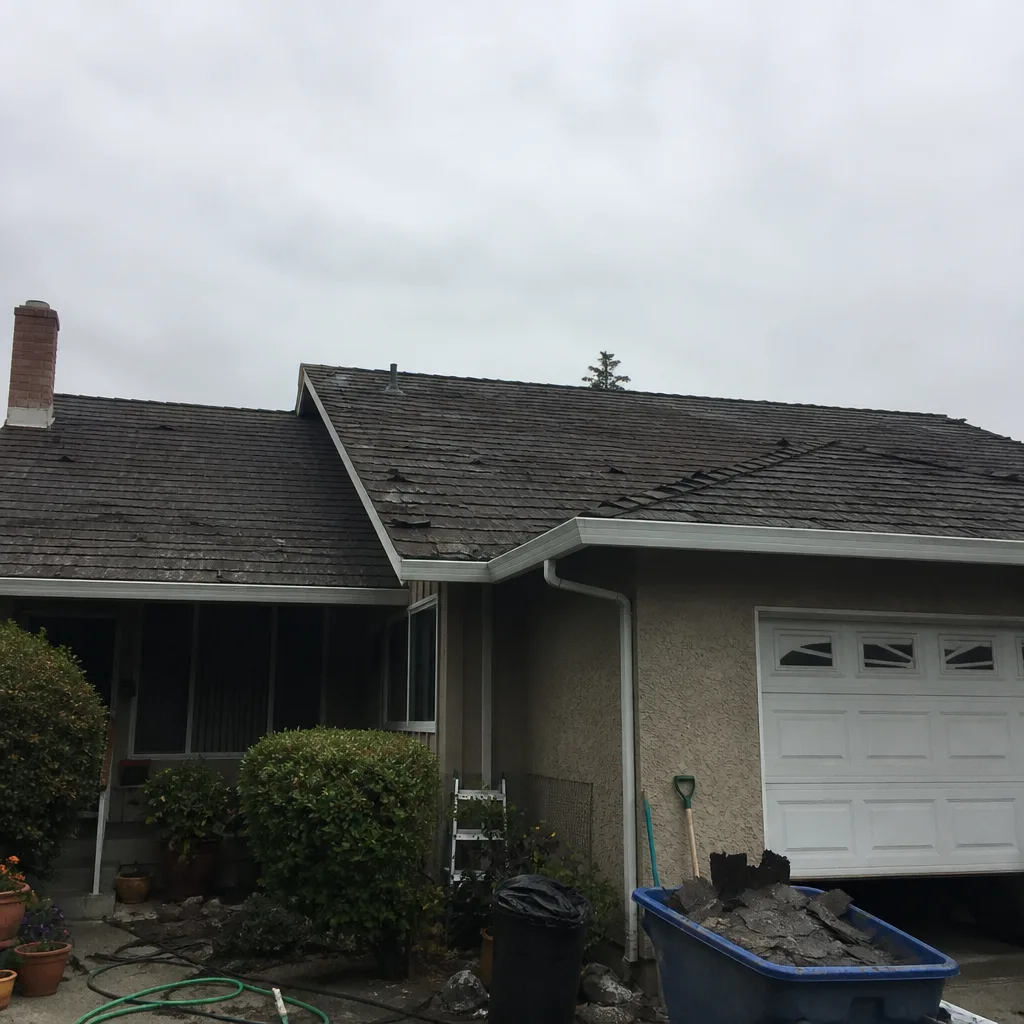 Before
 After
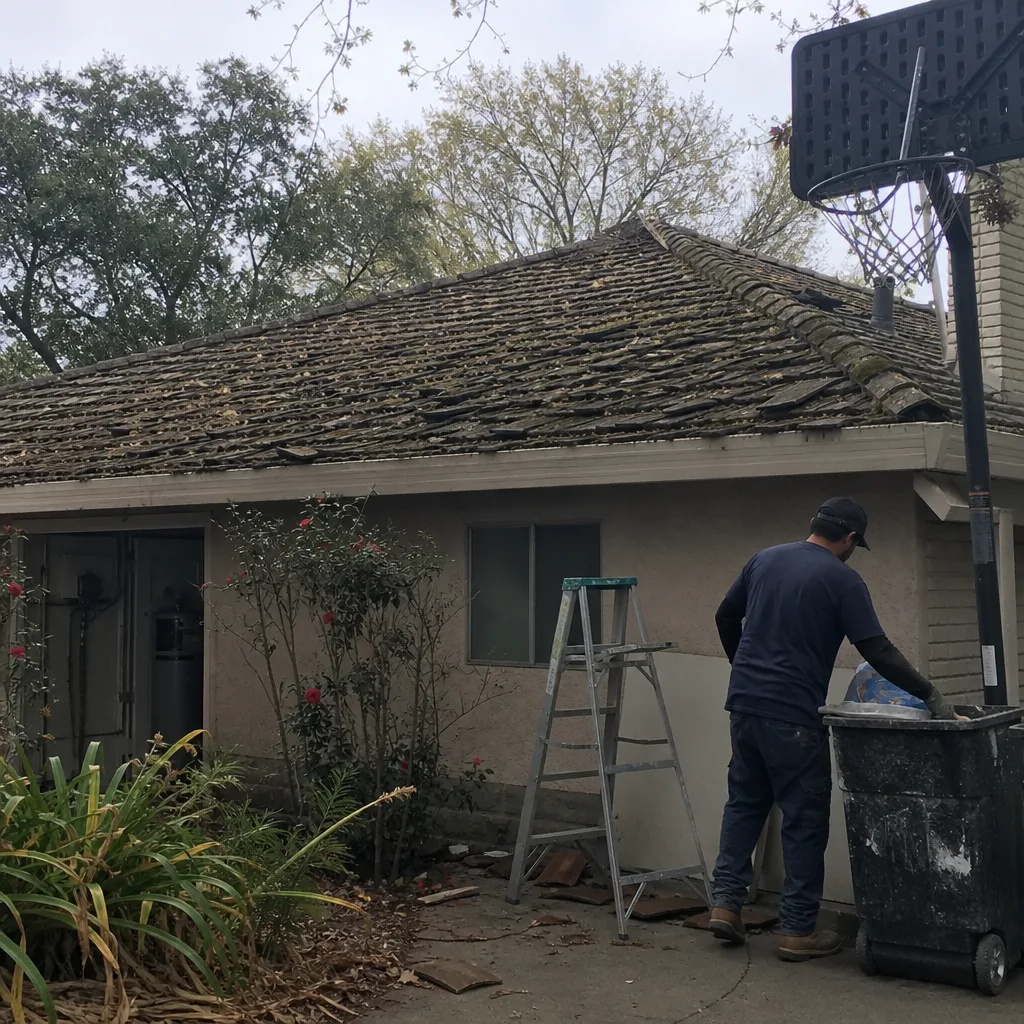 Before
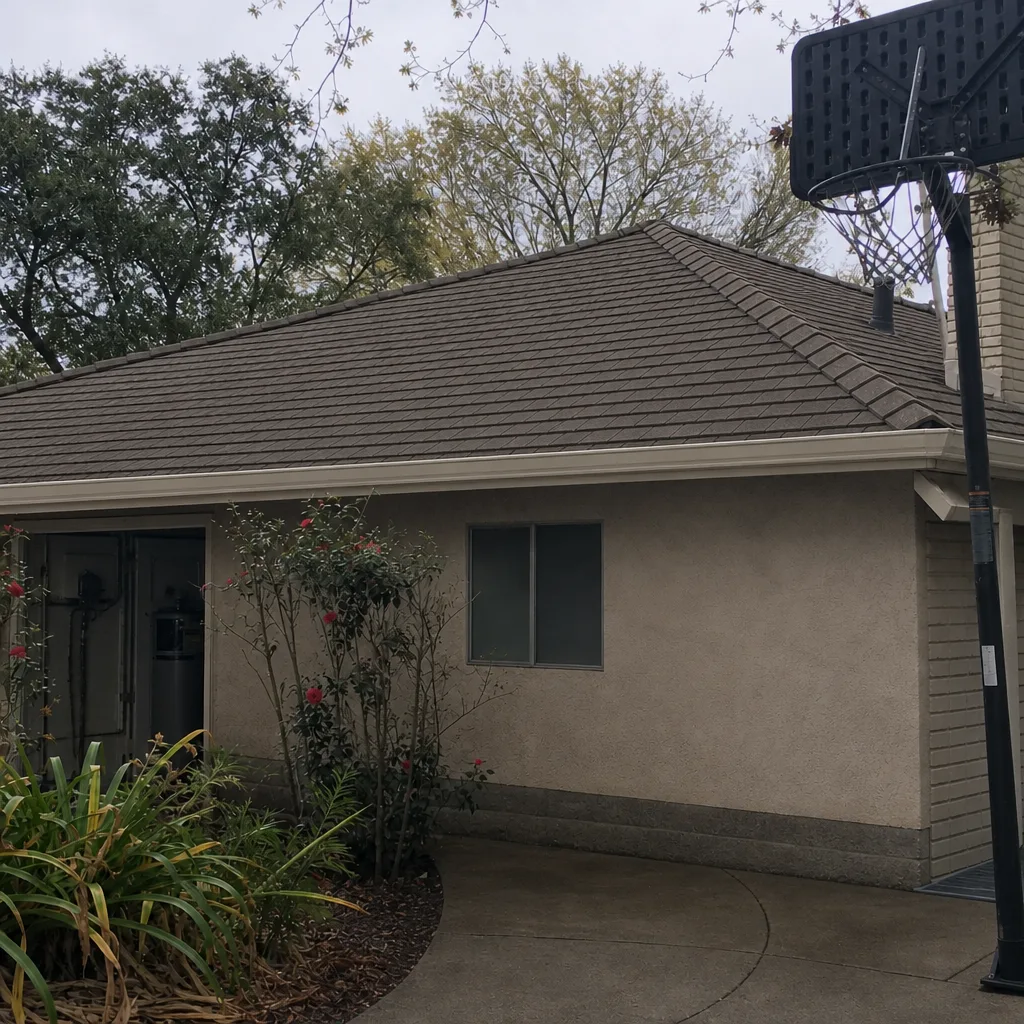 After