
Last updated November 14, 2026
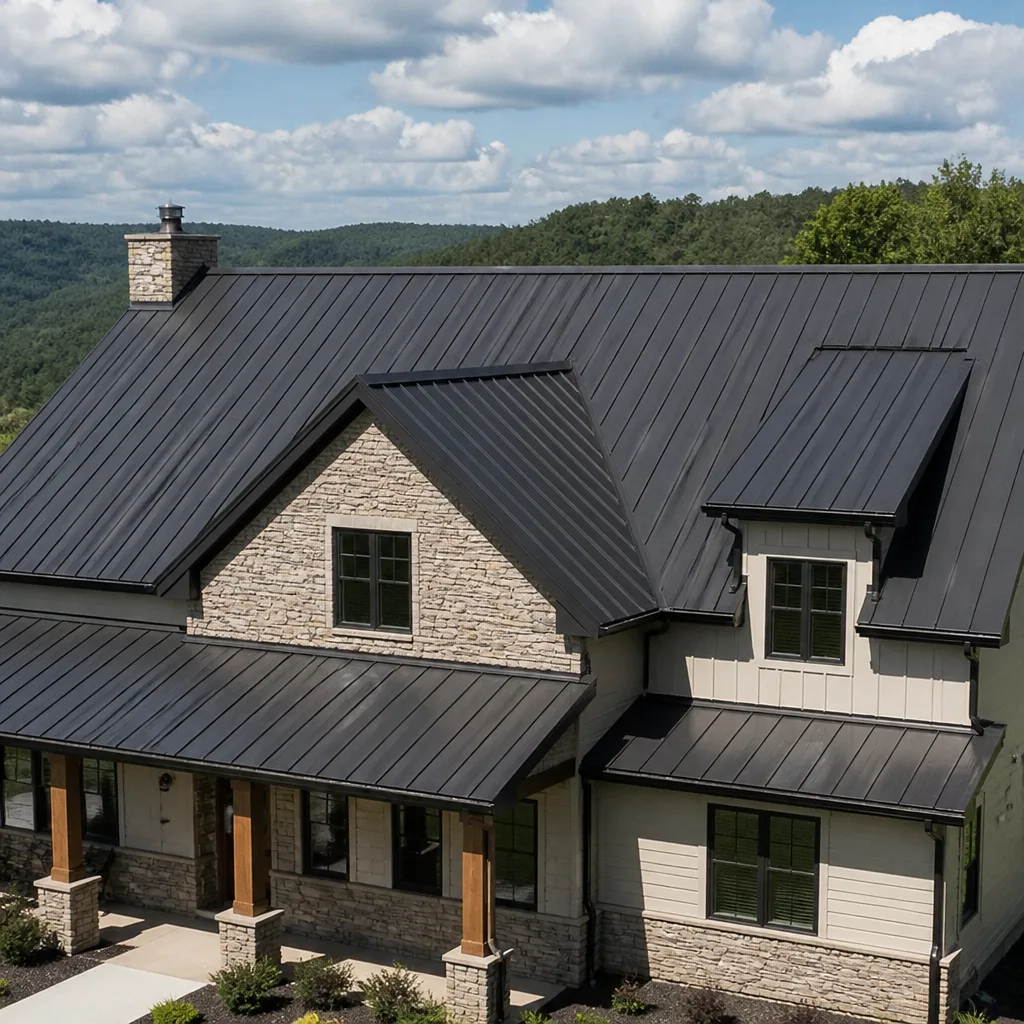 Metal roofing
 Architectural shingles
 Tile roofing
 GAF
 Owens Corning
 Flat & low-slope
Free roof inspection with deck photos before we talk money - GAF and Owens Corning certified installation
How to Hire a Roofing Contractor in Santa Clara: A Step-by-Step Guide
Most homeowners hire a roofer the way they hire a plumber: something breaks, they call the first name that answers, and they sign whatever’s put in front of them. On a roof, that approach is expensive. Roofing sits in a category of work that California regulators scrutinize closely, which means the license and insurance details you’re about to read aren’t fine print. They’re the whole thing. The Santa Clara homeowner who asks five specific questions before signing anything filters out most of the risk. This guide walks you through exactly what those questions are, how to check the answers yourself, and how to structure a job so a legitimate contractor and a careful homeowner both come out ahead.
Quick Answer
To hire a roofing contractor in Santa Clara, verify three things before anything else: an active Class C-39 roofing license on the CSLB website, a current workers’ compensation certificate, and a general liability policy you’ve seen with your own eyes. Then compare written scopes of work, not just prices, and structure payments around milestones you can see. A contractor with the right paperwork will hand all of this over without hesitation. One who resists is telling you something.
Styles & brands we work with
- Architectural shingles
- Metal roofing
- Tile roofing
- GAF
- Owens Corning
- Flat & low-slope
Table of Contents
- Step 1: How Do You Verify a Roofing License in California?
- Step 2: What Insurance Documents Should You Ask For?
- Why the Lowest Bid in Santa Clara Is Usually the Most Expensive
- How to Read a Roofing Scope of Work
- What a Real Manufacturer Warranty Requires From an Installer
- Permits, Inspections, and Why Skipping Them Costs You Later
- Bay Area Red Flags: Storm Chasers, Cash Discounts, and Permit Skips
- How to Structure a Payment Schedule That Protects You Both
Step 1: How Do You Verify a Roofing License in California?
You verify a roofing license by looking it up yourself on the Contractors State License Board (CSLB) website, not by trusting a number on a business card. California places roofing under the Class C-39 specialty classification, and the CSLB is the state agency that issues, tracks, and disciplines those licenses. If a contractor hands you a license number, that number should return a matching business name, an active status, and the C-39 classification. Anything that doesn’t line up is a stop sign.
Here’s the lookup, step by step:
- Go to the CSLB site and open the “Check a Contractor License” search.
- Search by license number if you have it, or by business name and city if you don’t.
- Confirm the status reads “Active” and the classification includes C-39 (roofing). A general B license alone does not automatically cover roofing work.
- Check the business name and address against what’s on the estimate. A license tied to a different name than the one quoting you deserves a question.
- Look at the license history and any disciplinary actions posted on the record. The CSLB publishes citations and suspensions, and they’re worth reading.
- Confirm the person signing your contract is authorized under that license, either as the qualifier or through the business entity.
This takes about five minutes and it’s the single highest-value thing you’ll do in the whole process. Ask about licensing early, before you talk materials or timelines. A roofer who’s proud of their record will send you the number before you ask. Our technicians have up to 12 years of experience working on residential roofs, and the ones who’ve been around longest are the first to tell homeowners to run the CSLB check themselves.
One more thing worth knowing: California requires a written contract for home improvement work over a certain threshold, and that contract has specific required elements. If a contractor tells you a handshake is fine, that’s a licensing issue dressed up as a convenience.
Step 2: What Insurance Documents Should You Ask For?
Ask for two separate insurance documents: a certificate of general liability insurance and a certificate of workers’ compensation insurance. They cover different things, and a contractor can carry one without the other. General liability protects your property and you if the work causes damage. Workers’ comp covers the crew if someone gets hurt on your roof. If a crew member is injured on your property and the contractor has no workers’ comp, the exposure can land on you as the homeowner.
What the certificates should show:
- The contractor’s legal business name matching the name on your contract and the CSLB record.
- An active policy period that covers the dates of your job, not a certificate that expired last year.
- General liability limits listed with the policy number and the insurer’s contact information.
- Workers’ compensation coverage, plus a waiver of subrogation where applicable.
- A phone number for the insurer so you can verify the certificate is real.
Certificates are easy to request and easy to fake, which is why the verification call matters. Ask the insurer to confirm the policy is current and the coverage amount matches what you were shown. In Santa Clara’s competitive contractor market, plenty of small operations run lean on insurance or let a policy lapse between jobs. That’s not a character judgment, it’s a business reality, and it’s why the certificate and the phone call are both required.
If a contractor uses subcontractors for any part of the work, ask whether those subs carry their own coverage and whether the contractor requires proof. The best answer is a written policy of collecting certificates from every sub before work begins. A vague answer here is worth pushing on.
Why the Lowest Bid in Santa Clara Is Usually the Most Expensive
The lowest bid is often the most expensive because it usually leaves something out, and the missing piece gets paid for later. Roofing quotes can differ by thousands of dollars for what sounds like the same job, and the gap almost never comes from the contractor being generous. It comes from a shorter scope: fewer layers removed, no underlayment upgrade, no flashing replacement, no permit, no disposal of the old material. Each omission is real money that shows up again in a few years.
Here’s what generally drives the price difference between two quotes on the same roof:
- Tear-off depth. Removing one layer versus two or three changes labor and dumpster costs significantly.
- Underlayment. A standard felt underlayment and a synthetic or self-adhering membrane are different products with different lifespans.
- Flashing. Reusing existing flashing versus replacing it at every penetration is a quiet fork in the road.
- Decking repair allowance. Good quotes include a per-sheet allowance for damaged sheathing found during tear-off; cheap quotes leave it out and invoice it later.
- Permit and inspection fees. A bid that skips the permit is cheaper by design, not by efficiency.
- Disposal. Dumpsters and hauling aren’t free. A quote that doesn’t mention them is hiding a cost, not eliminating it.
- Material tier. A value-tier shingle like IKO or Tamko and a premium line from Owens Corning or Atlas are different investments, and honest quotes say which one you’re getting.
The practical move is to compare scope line by line, not bottom line to bottom line. Take the two lowest quotes and read them side by side. Where one says “remove existing roofing” and the other says “remove existing roofing and inspect decking, repair up to two sheets,” you’ve found the gap. In Santa Clara, where home values are high and re-roofs are a long-term investment, a roof installed to a shorter scope tends to come back as a problem on the homeowner’s dime.
If you want the fuller picture of what’s actually involved in a re-roof here, our guide to roof replacement walks through the stages from tear-off to final inspection.
How to Read a Roofing Scope of Work
A scope of work is the sentence-by-sentence list of what the contractor will actually do, and it’s the document that decides what you get. The price is one number. The scope is everything behind that number. Learning to read one is the difference between comparing quotes and comparing wishes.
Here’s what a well-written scope typically covers, and what to look for in each section:
- Areas and measurements. A square count, the pitch of the roof, and any complex sections like valleys, dormers, or skylights should be named. If the scope is one line saying “replace roof, $14,000,” that’s not a scope.
- Tear-off and disposal. How many layers come off, and where the debris goes. Disposal should be an item, not an assumption.
- Decking. What happens if the sheathing is soft or damaged when the old roof comes off. A repair allowance per sheet is normal; the absence of one is a surprise waiting to happen.
- Underlayment and ice-and-water protection. The product name and where it’s installed. Valley and low-slope areas get different treatment than the field of the roof.
- Flashing and penetrations. Which flashing pieces get replaced and which get reused. Vent pipes, chimneys, skylights, and wall intersections all count.
- Material specification. Manufacturer, product line, and color. “Architectural shingles” alone doesn’t tell you what you’re paying for.
- Ventilation. Ridge vents, intake vents, and whether existing ventilation is sufficient. Ventilation problems show up as heat and moisture issues long after the crew leaves.
- Permits and inspections. Who pulls the permit and who covers the fee. The contractor should be named as the responsible party.
- Cleanup and final walkthrough. Magnetic sweep for nails, dumpster removal, and a final inspection of the work with you.
- Warranty terms. Both the manufacturer’s warranty and any workmanship warranty, in writing, with start dates and coverage limits.
Ask the contractor to walk you through their scope before you sign. If they can’t explain a line item in plain language, that’s a signal about how the job will go if something unexpected comes up mid-install. Roofs almost always have a surprise somewhere: a rotted sheathing section, a hidden leak, a poorly flashed prior repair. The scope tells you who’s responsible when the surprise arrives.
What a Real Manufacturer Warranty Requires From an Installer
A manufacturer warranty only pays out if the installer met the manufacturer’s conditions, and most homeowners never check whether their contractor qualifies. Shingle and roofing material warranties are conditional documents. They typically require that the installer be certified or authorized by the manufacturer, that installation follow the manufacturer’s published standards, and that the proper documentation be submitted on the homeowner’s behalf. A warranty certificate that never gets registered isn’t worth much.
What to confirm before signing:
- Installer status. Ask directly whether the contractor is authorized by the manufacturer whose product they’re proposing. If the answer is yes, ask for the certification to be documented in the contract.
- Installation standards. Ask whether the crew installs to the manufacturer’s published specification. Nail placement, underlayment, and ventilation all matter to warranty eligibility.
- Registration. Ask who submits the warranty paperwork and when. Get a commitment in writing.
- Labor coverage. Understand whether the manufacturer covers labor or only materials, and whether the contractor adds a workmanship warranty on top.
- Transferability. If you plan to sell the home, ask whether the warranty transfers and what that requires.
This is where material choice becomes a real question rather than a marketing point. Sunstone Roof Repair works with seven major roofing manufacturers, including Owens Corning, GAF, CertainTeed, IKO, Atlas, Tamko, and Boral. That lineup spans value-tier and premium lines, which means the recommendation can follow your budget and your roof’s needs rather than whichever single brand a contractor happens to carry. When you’re comparing contractors, ask which of these brands they can install and whether they can document it. A contractor tied to one brand can still do excellent work, but you should know that going in.
Permits, Inspections, and Why Skipping Them Costs You Later
Permits matter because they trigger inspections, and inspections are the only independent check on the work. When a contractor pulls a permit for a residential re-roof, the local building department inspects the installation at defined stages, generally including the deck and underlayment before the finished roofing goes on. That inspection catches problems a homeowner wouldn’t see until they’re leaks.
When a permit gets skipped, three things usually happen. First, the work itself is never inspected, so a shortcut in the deck repair or flashing goes unnoticed. Second, the missing permit can surface during a future home sale, requiring a retroactive permit process that’s often more expensive than the original permit would have been. Third, if a warranty claim later arises, the manufacturer’s warranty terms and your homeowner’s insurance both tend to treat unpermitted work as a problem.
How to handle the permit question up front:
- Ask whether the quote includes the permit and who’s named as the responsible party.
- Ask what stages get inspected and whether you’ll be notified before each inspection.
- Ask to see the final inspection record when the job closes out. Keep the permit number with your home records.
- If a contractor suggests the job doesn’t need a permit, ask them to confirm that in writing. Most cities require a permit for a re-roof, and Santa Clara’s building department can tell you specifically.
The permit conversation is a useful filter. Contractors who pull permits routinely treat it as a normal line item. Contractors who talk you out of it are telling you how they run their business.
Bay Area Red Flags: Storm Chasers, Cash Discounts, and Permit Skips
The Bay Area contractor market has its own set of red flags, and atmospheric river events tend to bring them all out at once. Heavy winter rain and wind create real roof damage in Santa Clara, and the weeks after a major storm are when out-of-area crews arrive with canvassing pitches and hard deadlines. Some are legitimate. Many aren’t, and the tell is almost always the paperwork.
Specific things to watch for:
- Door-to-door urgency after a storm. A crew that shows up uninvited and tells you your roof needs immediate work, before they’ve done an inspection you asked for, is selling, not diagnosing. Reputable contractors schedule inspections.
- Pressure to skip the permit. Any version of “we don’t need to bother with that” on a permitted job is a red flag. There’s no legitimate reason to skip it.
- Cash-only discounts. A cash discount that bypasses a written contract is not a discount, it’s an unrecorded job. Without a written contract you lose the CSLB complaint path and most of your legal leverage.
- Out-of-area license. Check whether the license and business address on the CSLB record match what’s on the estimate. An out-of-area license isn’t automatically bad, but a mismatch between the license address and the claimed local presence is worth understanding.
- No physical address or CSLB record. Contractors who can’t or won’t show a permanent business address and matching CSLB record are a different category than the ones who do.
- Deposit demands above the legal limit. California caps how much a home improvement contractor can require as a down payment. A demand for half or more of the total before any work starts is worth a close look at the law.
- Big promises on warranty. “Lifetime warranty” with no manufacturer registration and no workmanship terms in the contract is a marketing phrase, not coverage.
After a stormy winter, the pressure is real and the temptation to hire the first crew that shows up is real too. The better move is to slow down by a day: check the license on the CSLB site, ask for insurance certificates, and read the scope before anything gets signed. The best contractors in Santa Clara are still there after the storm-season rush fades, and they’re easy to find when you know the checklist.
How to Structure a Payment Schedule That Protects You Both
A fair payment schedule is structured around milestones, not calendar dates, and it ties the big final check to the work you can actually see. It’s not about being adversarial toward a legitimate contractor. It’s about making sure both sides are protected if something unexpected comes up mid-project.
A typical milestone structure for a residential re-roof works like this:
- Deposit. A modest deposit at signing, within the limits set by California home improvement contract rules, covers material ordering and scheduling. Keep it modest relative to the total.
- Material delivery or project start. A second payment when materials land at the site or the crew begins teardown. This confirms to both parties the job is underway.
- Mid-project milestone. A payment tied to a verifiable stage, such as dry-in completed with underlayment and flashing inspected. Avoid paying for work you can’t verify.
- Final payment. The largest single payment comes after the final walkthrough, after the cleanup, and after you’ve seen the inspection record and the warranty registration confirmation.
Get the schedule into the written contract with dollar amounts and milestone descriptions. Put a holdback on the final payment until the punch list is complete. A contractor confident in their work has no problem with that structure, and a reasonable contractor will expect it. If a payment schedule can’t be agreed on in writing, that’s a bigger signal than the price itself.
Judge the work at each milestone with a walkthrough, not a handshake. At the dry-in stage, ask to see the underlayment before the shingles go on. At final walkthrough, look at the flashing at every penetration and ask for the manufacturer warranty paperwork and the permit inspection record. If you want to know what a proper installation looks like at each stage, our roof repair service page covers what a finished repair should look like, and it’s the same eye you’re using here.
Common Mistakes to Avoid
- Hiring the first bid without a CSLB check. The license number on a business card can be inactive, expired, or tied to a different business. Five minutes on the CSLB site catches most of the risk.
- Comparing total prices instead of scopes. The cheapest bid is often cheapest because it leaves out tear-off depth, underlayment, flashing, or disposal. Read the line items, not just the number.
- Skipping the insurance certificate call. Seeing a certificate is half the check. Calling the insurer to confirm the policy is current is the other half.
- Skipping the permit to save money. The savings are small and the future problems are not. A missing permit surfaces during a home sale and can cost more to fix than the permit would have cost from the start.
- Paying too much up front. A large deposit before any work starts protects the contractor, not you. Structure payments around verified milestones.
- Not asking about manufacturer certification. A warranty claim on a shingle roof depends on the installer being authorized and following the manufacturer’s standards. Ask for the certification in writing.
- Ignoring the scope for decking repairs. Every roof has a surprise under the old shingles. A scope with a per-sheet repair allowance is being honest. One without it is setting you up for a change-order conversation.
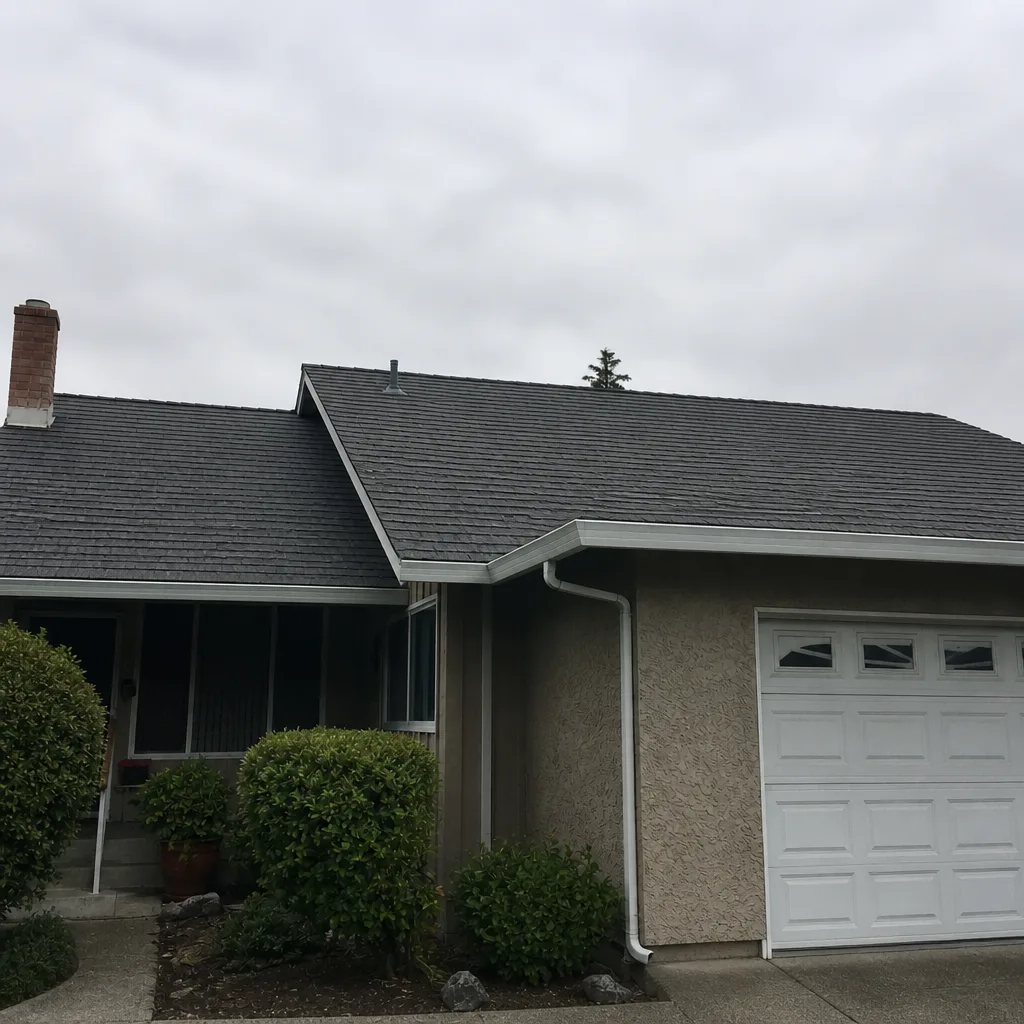
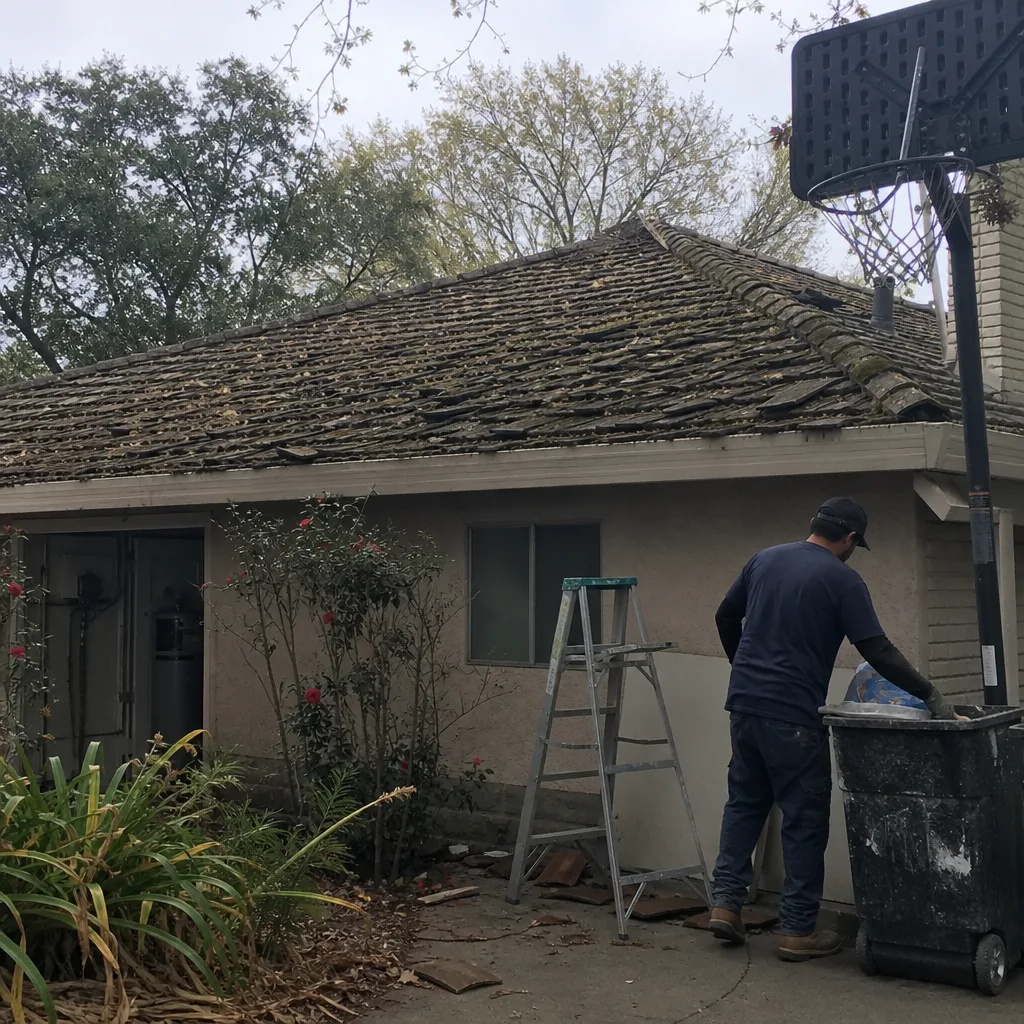
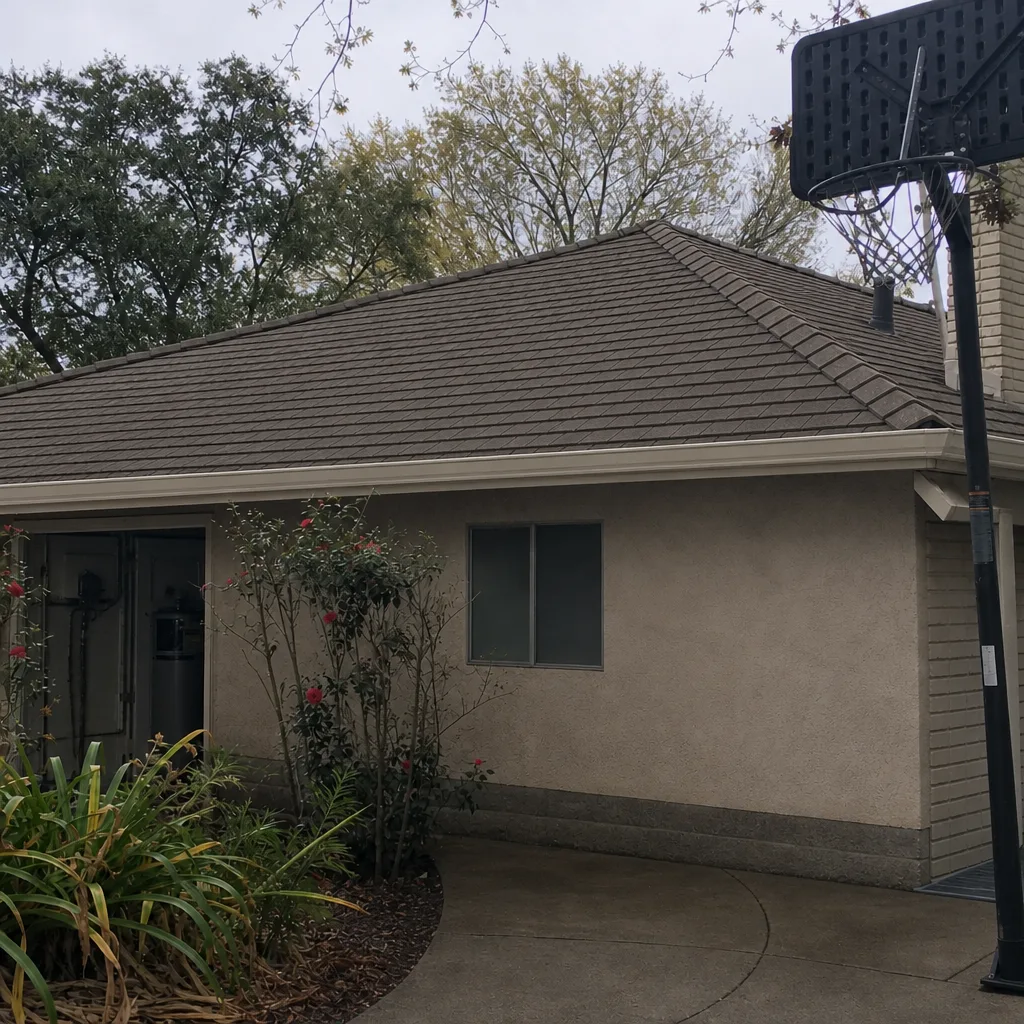
See the difference
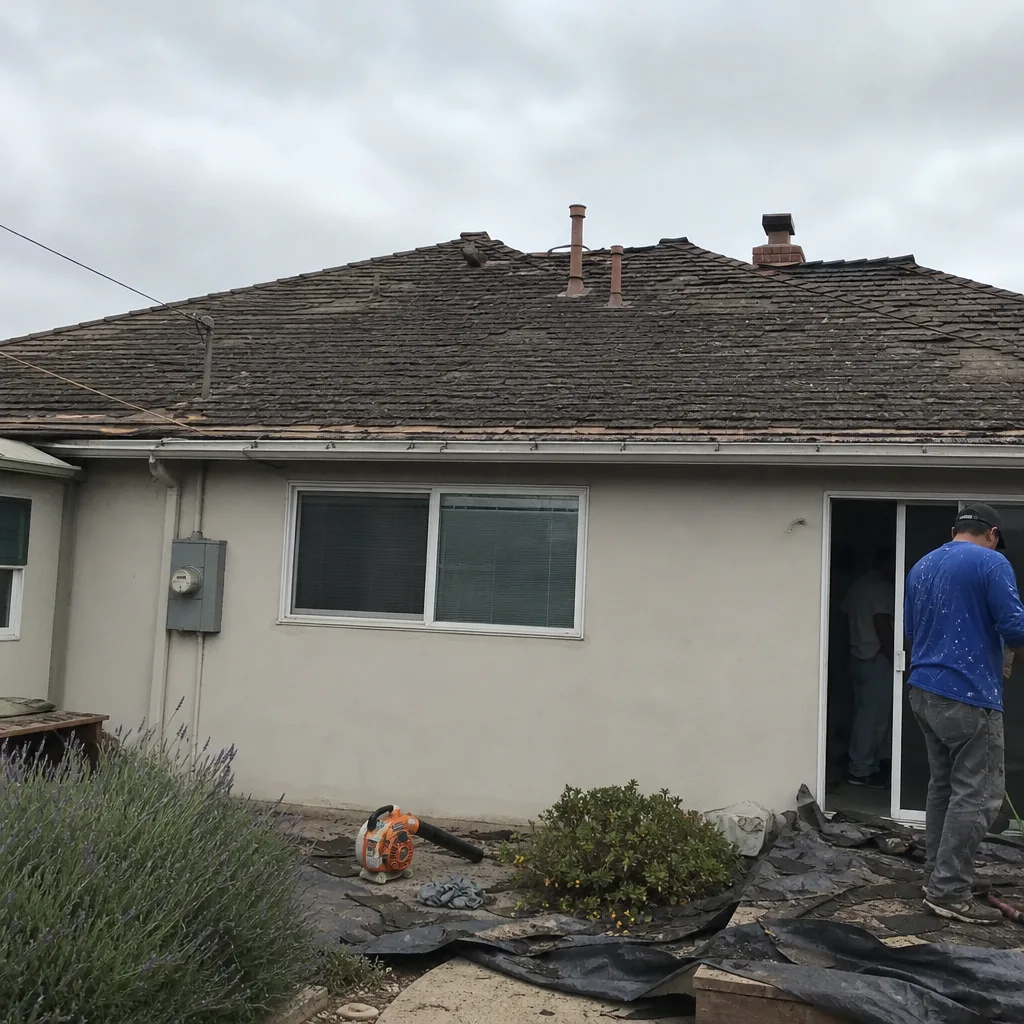 Before
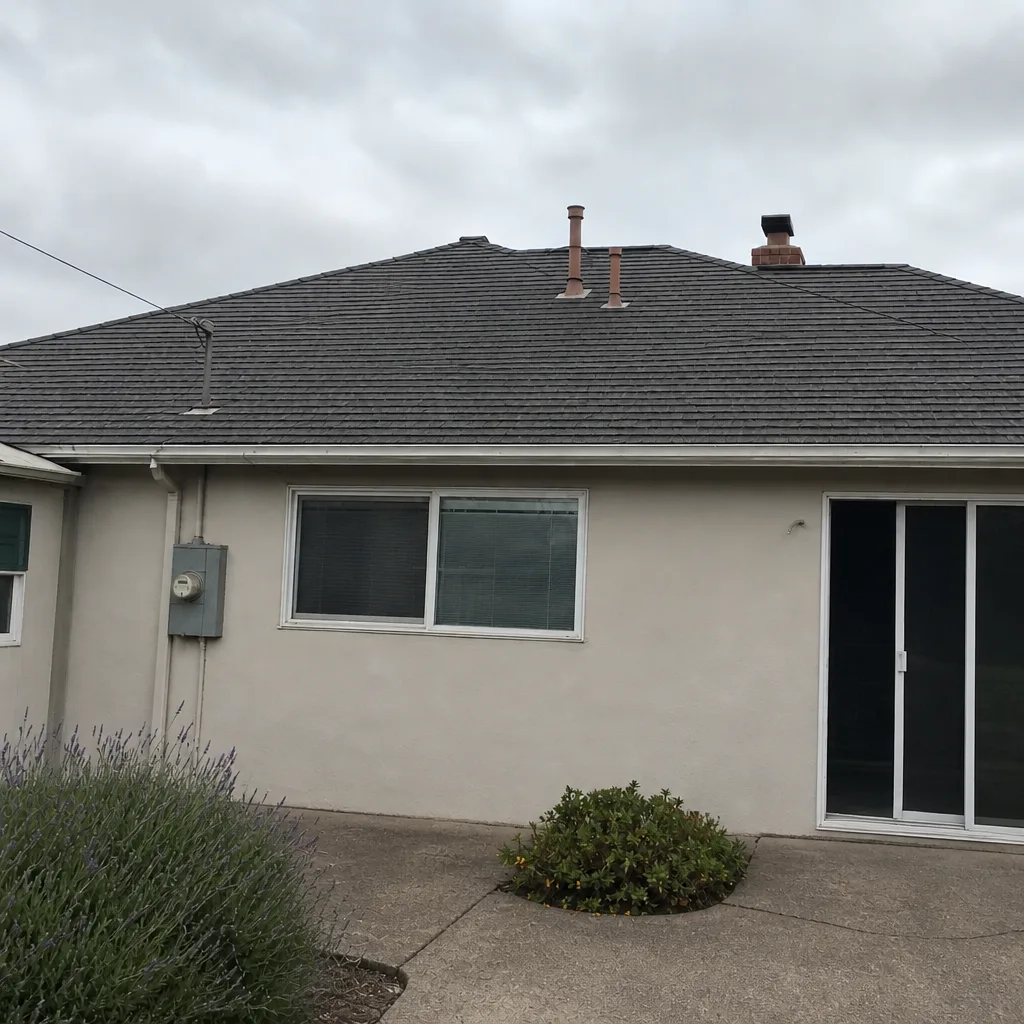 After
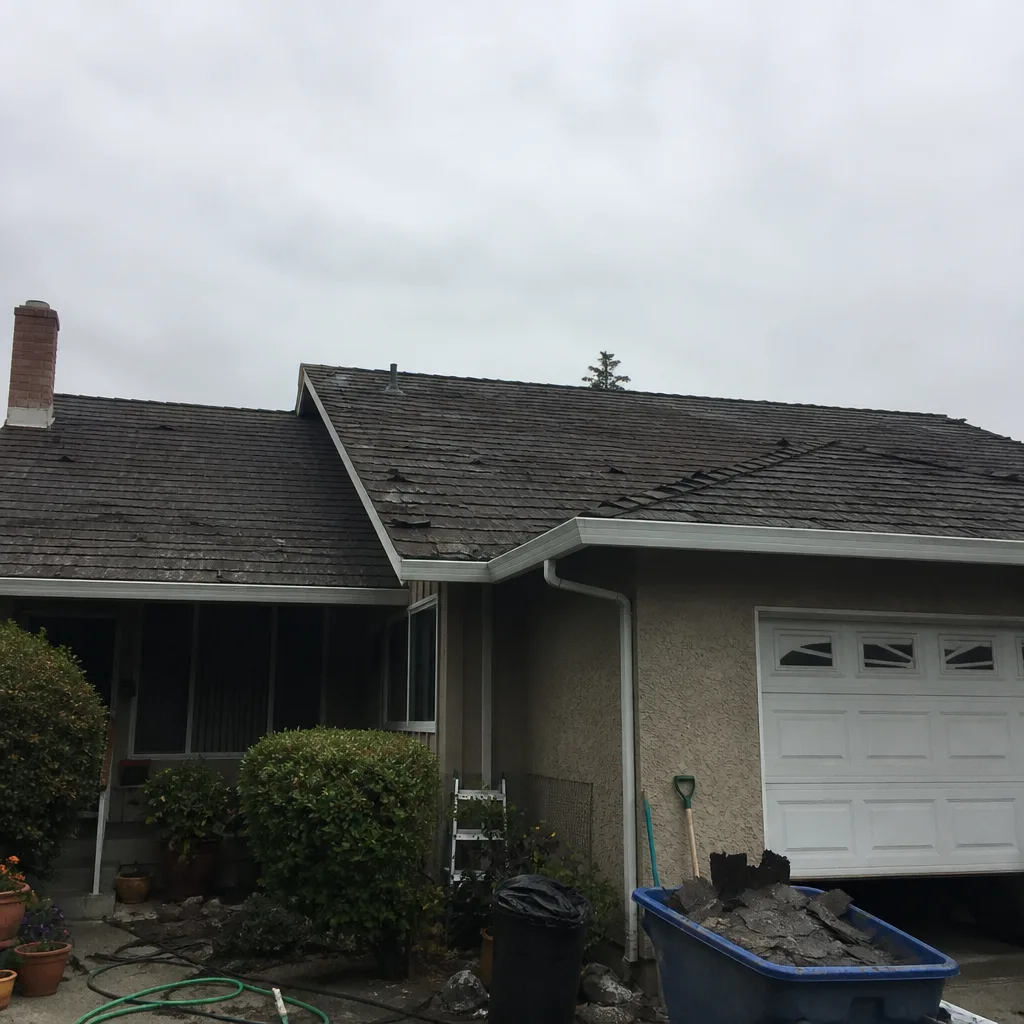 Before
 After
 Before
 After
When to Call a Professional
Some roof issues are worth a look before a storm season, and some are worth a call today. If you can see water stains on a ceiling or a wall after rain, if shingles are curling, cracking, or missing in patches, or if you’ve spotted granules collecting in gutters and downspouts, it’s time for a professional assessment. The same goes for visible flashing damage at a chimney, a wet spot that won’t dry, a sagging roofline, or a storm-driven impact you can see from the ground. On a roof that’s nearing the end of its service life, an honest inspection tells you whether repair, replacement, or nothing at all is the right answer.
If you’re not sure which category you’re in, the right move is an inspection, not a signature. Sunstone Roof Repair offers free estimates in Santa Clara – call (855) 473-8840. We’ll tell you exactly what your roof needs – repair, replacement, or nothing at all.
Frequently Asked Questions
Search the CSLB website by license number or business name, and confirm the status is active and the classification includes C-39 for roofing. Verify that the business name and address match the estimate and contract, and read any disciplinary actions posted on the record. Call (855) 473-8840 for a free estimate, and we’ll send you our license details before you ask.
California home improvement contracts must include the contractor’s license number, a detailed scope of work, the total price and payment schedule, and the required notices about cancellation rights and mechanics liens. Beyond those basics, look for a written warranty, a permit responsibility clause, and a decking repair allowance. Call (855) 473-8840 for a written line-item quotes from us – estimates are free.
No. The lowest bid usually reflects the shortest scope: fewer layers removed, standard underlayment instead of upgraded, reused flashing, no permit, no disposal. Compare line items side by side, not bottom lines. Call (855) 473-8840 for a free estimate with a full scope of work in writing.
Most residential re-roofs in Santa Clara do require a permit through the city building department, so ask the contractor to confirm the specific requirement for your address before signing. The permit triggers inspections that are your only independent check on the installation. Call (855) 473-8840 for a free estimate and we’ll walk through the permit process for your job.
The written estimate sets the final price for the scope described, and any change should come as a written change order approved by you before the work happens. The main variable is decking repairs found during tear-off, which is why a per-sheet allowance in the scope makes the conversation easier. Call (855) 473-8840 for an estimate that spells out the allowances.
Most residential re-roofs take several days of work, and the range depends on roof size, pitch, layers being removed, and whether decking repairs are needed. Weather can extend the timeline, especially during Santa Clara’s winter rain pattern. Call (855) 473-8840 for a schedule estimate on your specific roof – estimates are free.
The Bottom Line
Hiring a roofing contractor in Santa Clara comes down to verification, scope, and payment structure. Check the CSLB record for a C-39 license in good standing. Confirm general liability and workers’ compensation coverage by calling the insurer. Read the scope line by line and compare it to the other quotes. Ask whether the contractor is certified to install the manufacturer’s product they’re proposing and get the registration in writing. Structure the payment schedule around milestones you can see and verify. Do those five things and the odds of a bad outcome drop sharply. A roofer who’s comfortable with all of it is a roofer worth hiring. If you’re ready to start with an inspection, Sunstone Roof Repair works throughout Santa Clara and the surrounding area.
Call (855) 473-8840. We answer 24/7. Fast dispatch from 7am to 7pm, Sunday through Friday. Estimates are free, and the first step is an honest inspection that tells you exactly what your roof needs – repair, replacement, or nothing at all. To see the full range of what we do, start at Sunstone Roof Repair.
Written by the team at Sunstone Roof Repair.